
- Import Windows 10 version 2004 Microsoft OS into MDT.
- Create Windows 10 capture build Task Sequence.
- Create Microsoft Visual ++ applications into MDT and add these applications into capture build Task Sequence.
- Add .NET 3.5 windows feature step into Capture build Task sequence.
- Modify MDT Deployment Share property to capture image.
- Deploy Capture Task Sequence on reference machine to captured Windows 10 image.
Step by step process of
Windows 10 build capture through MDT
Download
Windows 10 .iso file from Microsoft site and copy extracted files into local
drive of MDT Machine.
Then
open Deployment Workbench, Expand MDT Deployment Share, right click on Operation Systems and click on Import Operating system from drop down
list.

Select Full set of source files and click Next.

Provide
Windows 10 source folder path and click Next.

In
destination directory name box, you can keep default destination directory
(folder) name or you can rename it as per your convenient and click Next.

Click
Next.

It will take time to import OS image file. Click Finish once it is appeared.

You can rename the imported OS image (.wim) file name if you want.


Step 2: Create Windows 10 build capture task Sequence
Right
click on Task Sequences and click on
New Task sequence.

Type Task sequence ID, Task sequence name and Task sequence comments (optional) name as per your convenient and click Next.

Select Standard Client Task Sequence and click Next.

Choose Windows 10 Operating System and click Next.

Click on Do not specify product key at this time and click Next.

Provide full name and Organization name and click Next. You can also choose Internet Explorer Home Page if you want.

You can provide administrative password or you can choose second option if you do not want to set password now and click Next.

Click Next.

Click Finish.

Now task sequence is created for Windows 10 build capture.

Step 3: Create applications and add these applications into capture build Task Sequence
Right
click on Applications and select New Application from drop down list.

Select Application with source files and click Next.

Type Application Publisher, Application Name, Version and Language and click on Next. You must type application name, rest of all fields are optional, you can leave bank.

Provide source folder path of Microsoft Visual ++ 32-bit application and click on Next.

You
can keep default directory name if you want or rename it and click Next.

Type
below command in command line box and click Next.

Click Next.

Click
Finish.

You will see Microsoft VC++ 32-bit application is created under application.

Follow the same steps to create x64 bit version of Microsoft Visual ++ 2015-2019.

Right
click on Windows 10 captured task sequence and click on Property from drop down list.

Click on Task sequence tab and expand State Restore, then click Install Applications, select Install a single application, browse to Microsoft Visual ++ x86 application.

Now
add x64 version of Microsoft Visual ++ x 2015 – 2019 application. For that
click on Add menu, then click
General option from drop down list and select Install Application to add this steps in task sequence.
Then select Install a single application, browse to Microsoft Visual ++ x64 application.

Then click on Install Application steps which we have just created and select Install a single application, browse to Microsoft Visual ++ x64 application.

Step 4: Add Install Roles and Features after application steps to install .net 3.5 feature during build capture.
Click on Add menu, then click on Role option from drop down list and select Install Application to add this steps in task sequence.

Click on Install Roles and Features and select .NET Framework 3.5 (includes .NET 2.0 and 3.0)

Now
add Restart steps after .NET 3.5 installation steps.
Click on Add menu, then click on General option from drop down list and select Restart Computer to add this steps in task sequence.

Finally click on Apply and OK button.

Step 5: Modify MDT Deployment Share property to capture
Right click on MDT Deployment Share and click on Property option from drop down list.

Click on Rules tab, change SkipCapture=No and add Skip TimeZone=YES as shown below image and click on OK button.

Step 6 : Deploy Capture Task Sequence on reference machine to captured Windows 10 image
Copy lite touch x64 .iso file into bootable USB drive or burn this .iso file into CD/DVD and then boot reference machine from CD/DVD or USB drive.
Click on Run the Deployment Wizard to install a new Operating System when Welcome box display.

Type domain user name, password and domain name and click OK. Make sure user have permission to join devices to domain.

Select Windows 10 x64 2004 Capture Task Sequence and click Next.

Select Join a WORKGROUP and click Next.

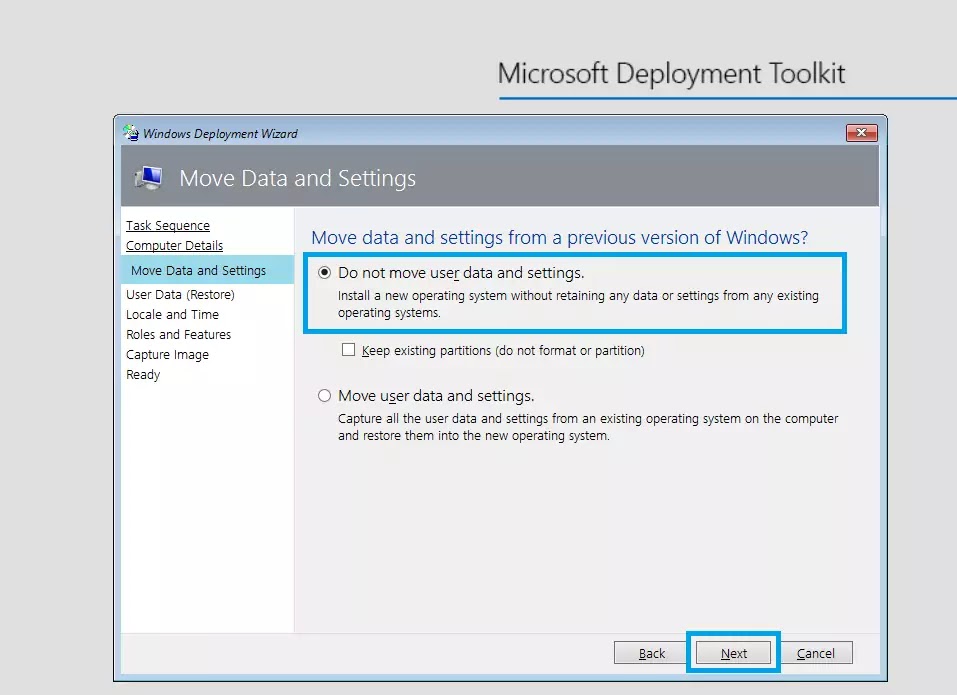
Select Do not move user data and settings and click Next.
Select Do not restore user data and settings and click Next.

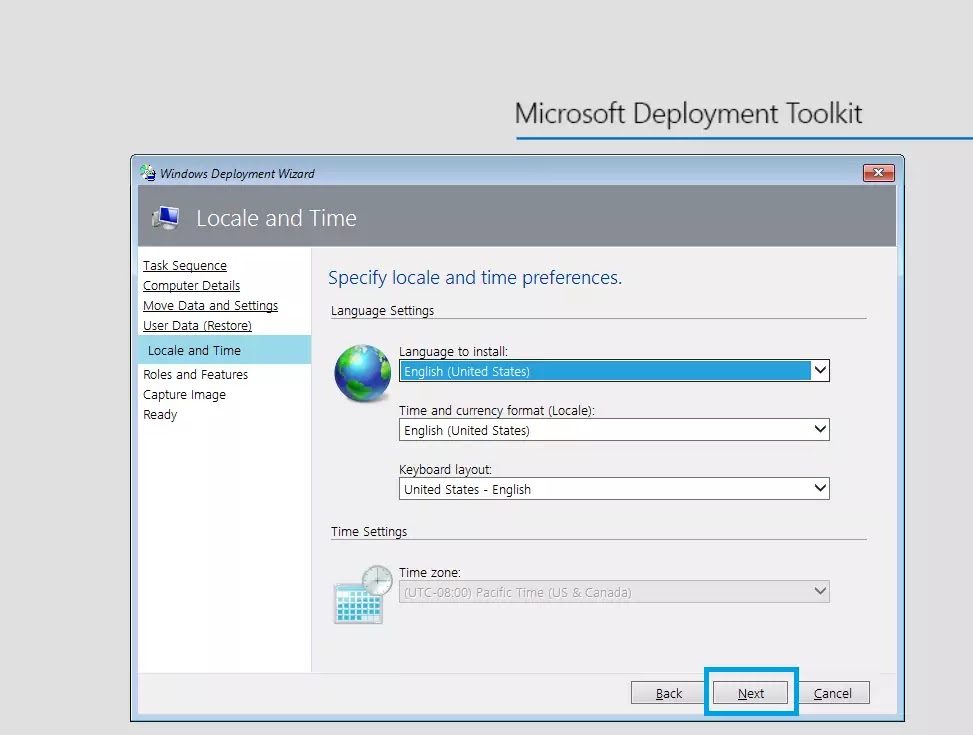
Click on Next.
Click on Next.

Select Capture an image of this reference computer, provide network share path or keep default Deployment share folder path and click Next.

Click Begin to capture reference image.

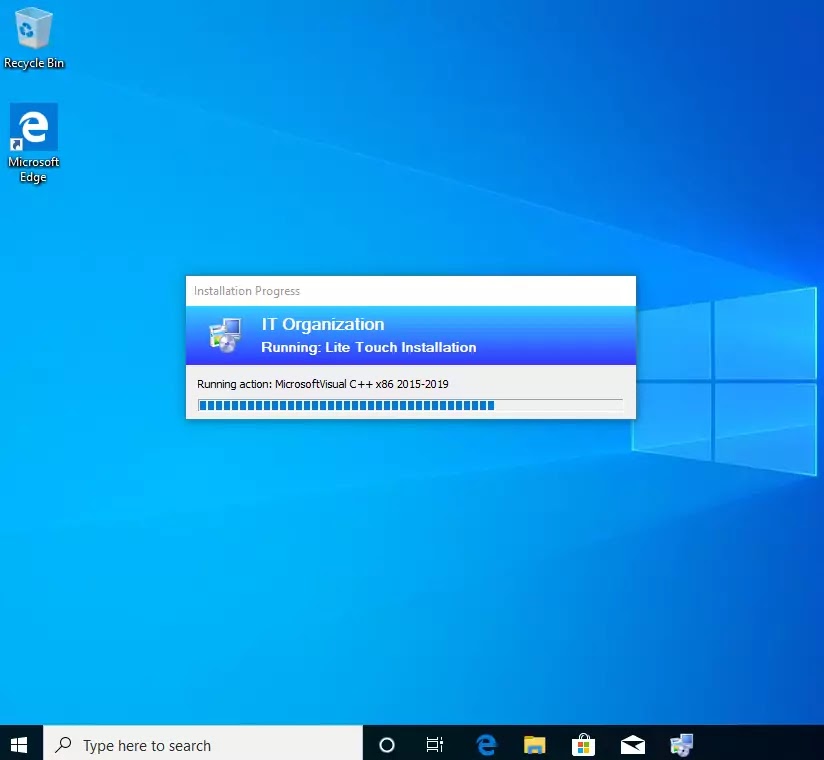
It will take time to install windows 10 Operating System

Once OS is installed, it will automatically login into system and will start installing applications as per build capture Task Sequence.
Finally it will run sysprep and then system will get reboot to create and store image file.

Now it will capture file in .wim formation and store on provided network path.

Windows 10 captured image file (.wim) is stored in Captured folder under DeploymantShare folder

No comments:
Post a Comment